Hi, it took me sometime to figure out the correct way to deploy ingress controller, till I came across the accurate steps for doing this, and decided to write this article, and also record a video tutorial to share with you the steps.
This i a video tutorial for these steps
Why would you need an Ingress controller deployed in your environment? Basically, the default method you’d implement to expose your containerized workloads is by using services of type “NodeIP”, which dictates using an URL comprised of an IP (or hostname) of one of your cluster nodes, along with a port, similar to this format “http://nodeipaddress:31000”, and you can’t even assign different hostnames ( with domain names) to your workloads, moreover, you can’t have load-balancing capabilities with a default implementation of Kubernetes cluster. An Ingress controller can do all of these, so, simply, an Ingress is a reverse-proxy for routing traffic from the end users, to your pods. Ingress is capable of:
- routing HTTP/HTTPS traffic based on hostnames to pods.
- load-balancing incoming traffic to pods.
- advanced load-balancing features (depending on the Ingress controller you are using).

As of the time of authoring this article, there are many Ingress controllers available, some are free, others are commercial.
Free Ingress controllers: NGINX, Traefk, and more.
Commercial Ingress controllers: Citrix, F5, and more.
Cloud-based Ingress controllers are also available at AWS EKS, Google cloud, and Azure.
For more information about available Ingress controllers supported by Kubernetes project, check here.
I assume that you are already familiar with Kubernetes concepts, have a running K8S cluster, and have enough administrative privileges on the OS, as well as Kubernetes cluster admin before going through this documentation.
We are going to do the following in this tutorial:
- Install NGINX ingress controller.
- Test ingress using couple of pod deployments.
- Test a single ingress resource for both test pods.
My environment contains the following:
- Kubernetes: v1.20
- CRI: CRI-O v.1.20
- OS: CentOS 7.9
The OS version doesn’t matter, but you should keep an eye on the Kubernetes version in use as the supported API versions are important for the compatibility factors with ingress controllers.
Check this article if you are interested in deploying Kubernetes with CRI-O runtime engine.
Let’s get started!
1- Download the binaries of NGINX-ingress. Make sure that you already have “git” package installed.
git clone https://github.com/nginxinc/kubernetes-ingress/
cd kubernetes-ingress/deployments
git checkout v1.10.0

2- Create a namespace, a service account, and a clusterRole binding resources.
kubectl apply -f common/ns-and-sa.yaml

kubectl apply -f rbac/rbac.yaml
3- Create common resources (TLS cert secret, config map)
kubectl apply -f common/default-server-secret.yaml

kubectl apply -f common/nginx-config.yaml
4- create an IngressClass, and it would be better to set it as the default one to set NGINX ingress as the default Ingress controller for all Ingress resources you may create afterwards. Edit the following file ” common/ingress-class.yaml ” and uncomment the following lines, and save. The file is located in the same path your shell is pointing to right now (if you are following the same steps).

it should like like tis

Now, run the following command:
kubectl apply -f common/ingress-class.yaml
5. run all of the following commands to create some custom resources for enabling load-balancing features for NGINX
kubectl apply -f common/crds/k8s.nginx.org_virtualservers.yaml
kubectl apply -f common/crds/k8s.nginx.org_virtualserverroutes.yaml
kubectl apply -f common/crds/k8s.nginx.org_transportservers.yaml
kubectl apply -f common/crds/k8s.nginx.org_policies.yaml
kubectl apply -f common/crds/k8s.nginx.org_globalconfigurations.yaml
kubectl apply -f common/global-configuration.yaml
6- All of the dependencies are now ready for the deployment of the controller. NGINX Ingress could be deployed in two types, a deployment type, or a daemonset type. In this example, I will be deploying it as a DaemonSet as I’d prefer it like this to avoid creating an additional service resource to expose the deployment, moreover, DaemonSet is highly available in that case. Run the following command.
kubectl apply -f daemon-set/nginx-ingress.yaml
7- Let’s verify the status of the deployed components. By the way, by default, NGINX controller pod won’t be scheduled on master nodes, only on worker nodes. If you need them to be also scheduled on master nodes, you should edit the deployment file and atta a section for tolerations to allow pods to be scheduled on master nodes. This is out of our scope in this tutorial.

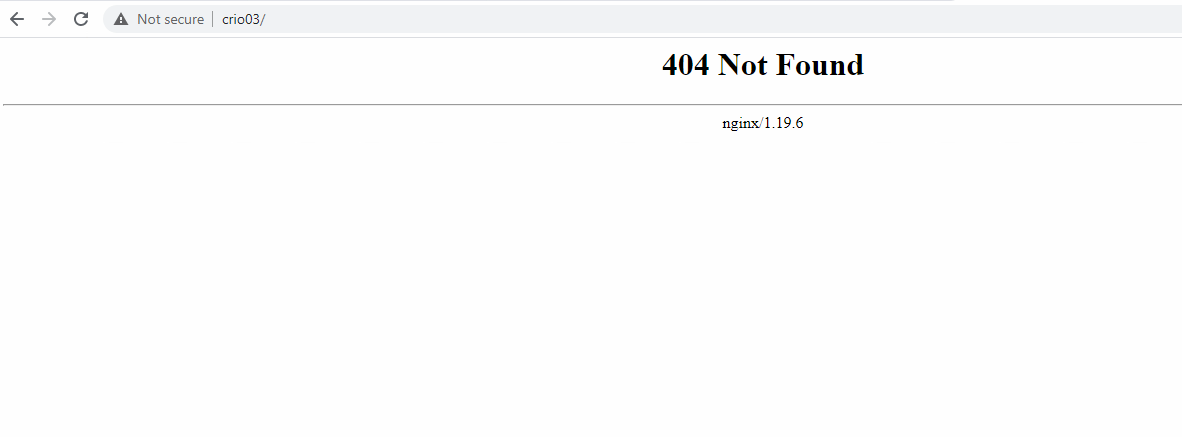
8- Let’s check Ingress functionality. open a web browser, and try to access one of your Kubernetes nodes over HTTP. NGINX Ingress has a default landing homepage.
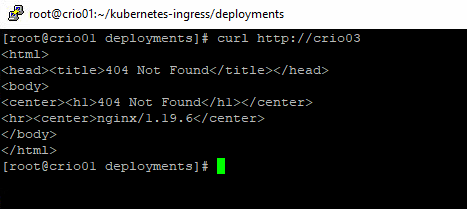
You could also CURL into it in case you didn’t get a result in your web browser.
The deployment has finished successfully, let’s deploy and expose couple of pods to test Ingress.
1- You should have create DNS records in your name server pointing to any of the cluster nodes to use with ingress. I have already configured a sub domain in my DNS to test the connectivity. I will be running two pods, Green, and Blue, each has a static web page that returns a color.

Again, you don’t need to follow the DNS setup I’m using, configure the records according to your preferences.
2- I will deploy two pods using Helm charts I’ve prepared. The chart will deploy a pod, a service (ClusterIP type, and an Ingress resource).
Let’s examine what I’ve deployed in my environment.

I’ve used the following Ingress sample to create Ingress resource. You could use it to create a YAML file.
apiVersion: networking.k8s.io/v1
kind: Ingress
metadata:
  name: blue-ingress
spec:
  rules:
  - host: "blue.crio.aitn.local"
    http:
      paths:
      - pathType: Prefix
        path: "/"
        backend:
          service:
            name: blue-svc
            port:
              number: 80
Such an ingress resource will be forwarding any incoming requests for the host name “blue.crio.aitn.local” to the backend service created for the pod over HTTP/80 protocol. For more Ingress samples, visit this guide.
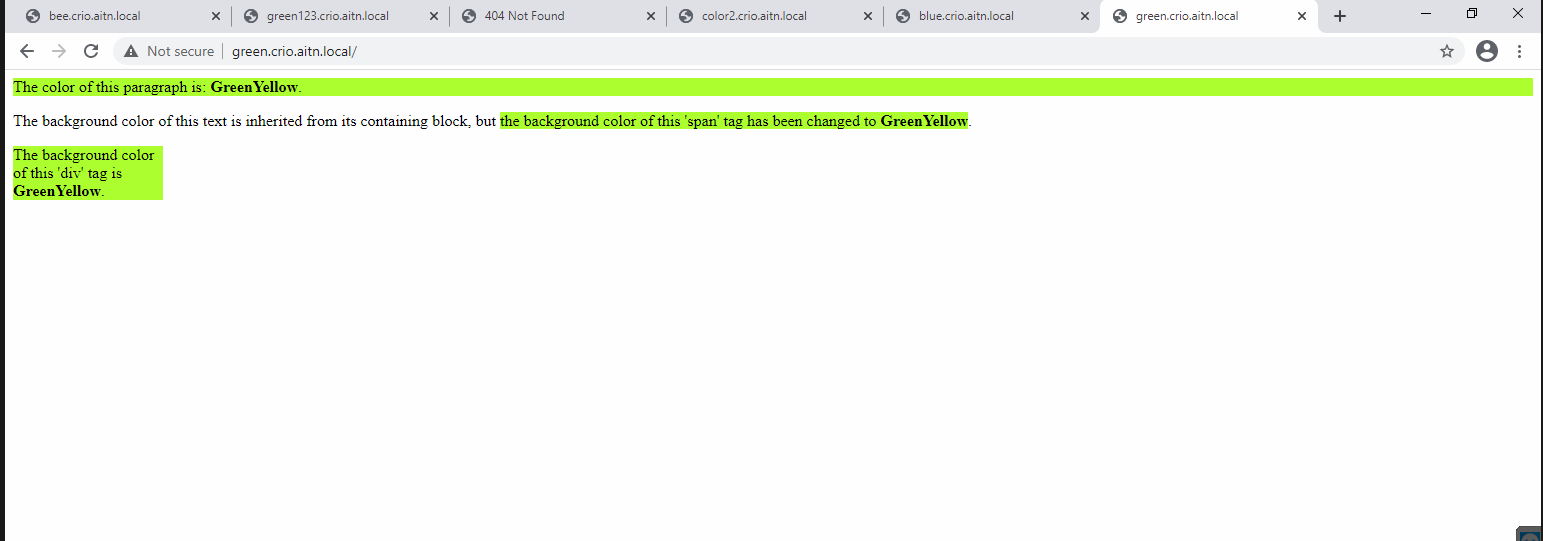
3- Let’s test accessing my pods, I have created two ingress resources, one for each pod. I’m accessing the “green” pod using “green.crio.aitn.local:, and “blue.crio.aitn.local’ for the blue pod.

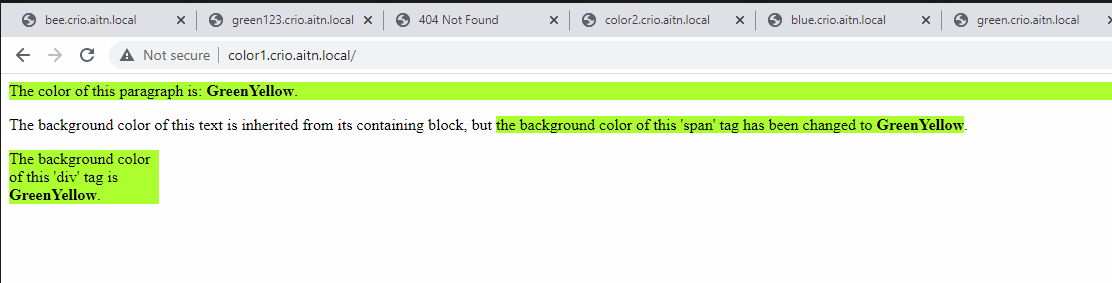
4 – (optional) lets create a single Ingress resource to access both pods. I’m using the following template for Ingress YAML. This time, I will be using another two hostnames to access the colors, “color1.crio…..”, and “color2.crio…..”
apiVersion: networking.k8s.io/v1
kind: Ingress
metadata:
  name: color-ingress
spec:
  rules:
  - host: "color1.crio.aitn.local"
    http:
      paths:
      - pathType: Prefix
        path: "/"
        backend:
          service:
            name: green-svc
            port:
              number: 80
  - host: "color2.crio.aitn.local"
    http:
      paths:
      - pathType: Prefix
        path: "/"
        backend:
          service:
            name: blue-svc
            port:
              number: 80
I’ve created a UAML file named ” color-ingress.yaml :, let’s run the file.
kubectl apply -f color-ingress.yaml

It’s been created successfully, and bound automatically to class “NGINX” as well. a “class” here is the “IngressClass” object.
Let’s try the new URLs to access the colored pages.

We are done.
You may find further information here:
Ingress in Kubernetes Documentation: https://kubernetes.io/docs/concepts/services-networking/ingress/
Installing NGINX using manifest files: https://docs.nginx.com/nginx-ingress-controller/installation/installation-with-manifests/
Thank you,
