
Virtual machine encryption is a new feature in vSphere 6.5 (and later editions); vSphere increases and hardens the security of the VM by encrypting its virtual disks. You could apply this to all vdisks, or select the ones you need to be encrypted.
The requirements for achieving this approach:
- vSphere 6.5 or later.
- KMS (Key Management Server).
In this article, I will be detailing all of the steps to enable VM encryption, as well as downloading a KMS server.
Steps at a glance:
- Deploying a KMS server.
- configuring VM encryption.
Deploying a KMS server
There are many vendors out there produce KMS servers. In this article I will be using HyTrust KMS server. it has a 60-day trial edition.
Steps:
1- download HyTrust KMS OVA for vSphere, and then decompress the downloaded file.
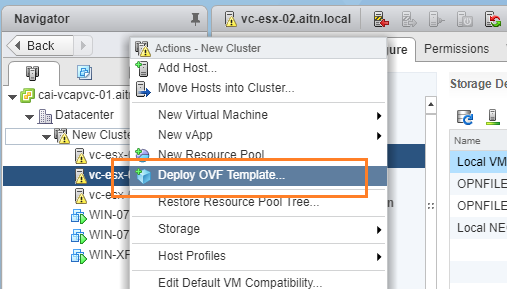
2- deploy the OVA image to your vSphere environment with your preferred preferences. Don;t forget to create a DNS record in your DNS server for it.


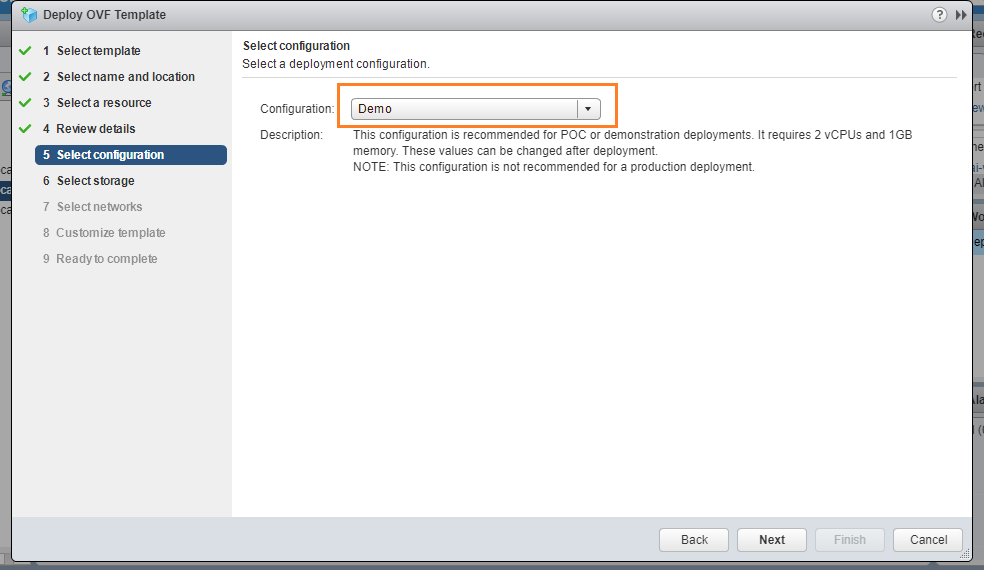
If you are just deploying this in a lab, then just set the configuration to “demo”.
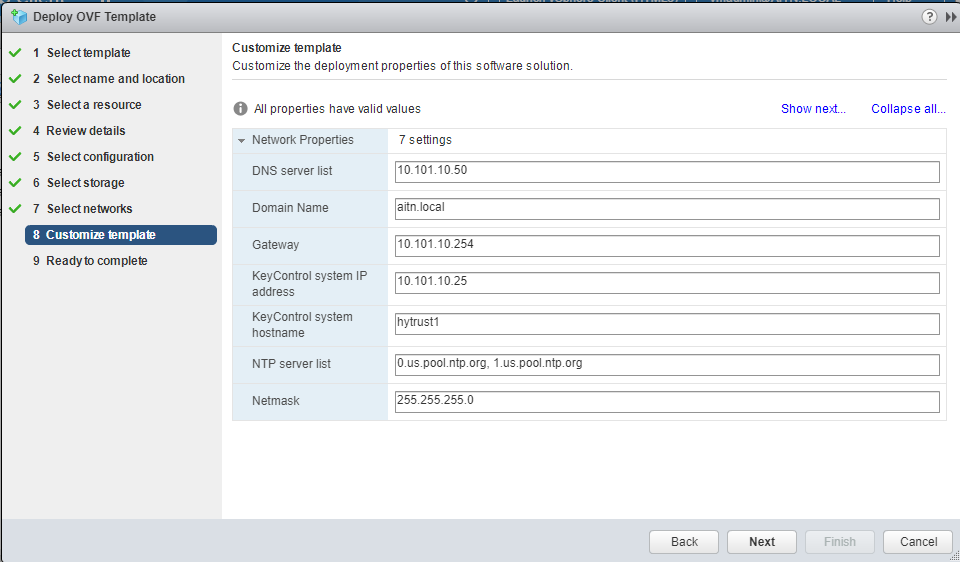
Define the host name to be the same as the DNS record you’ve created.
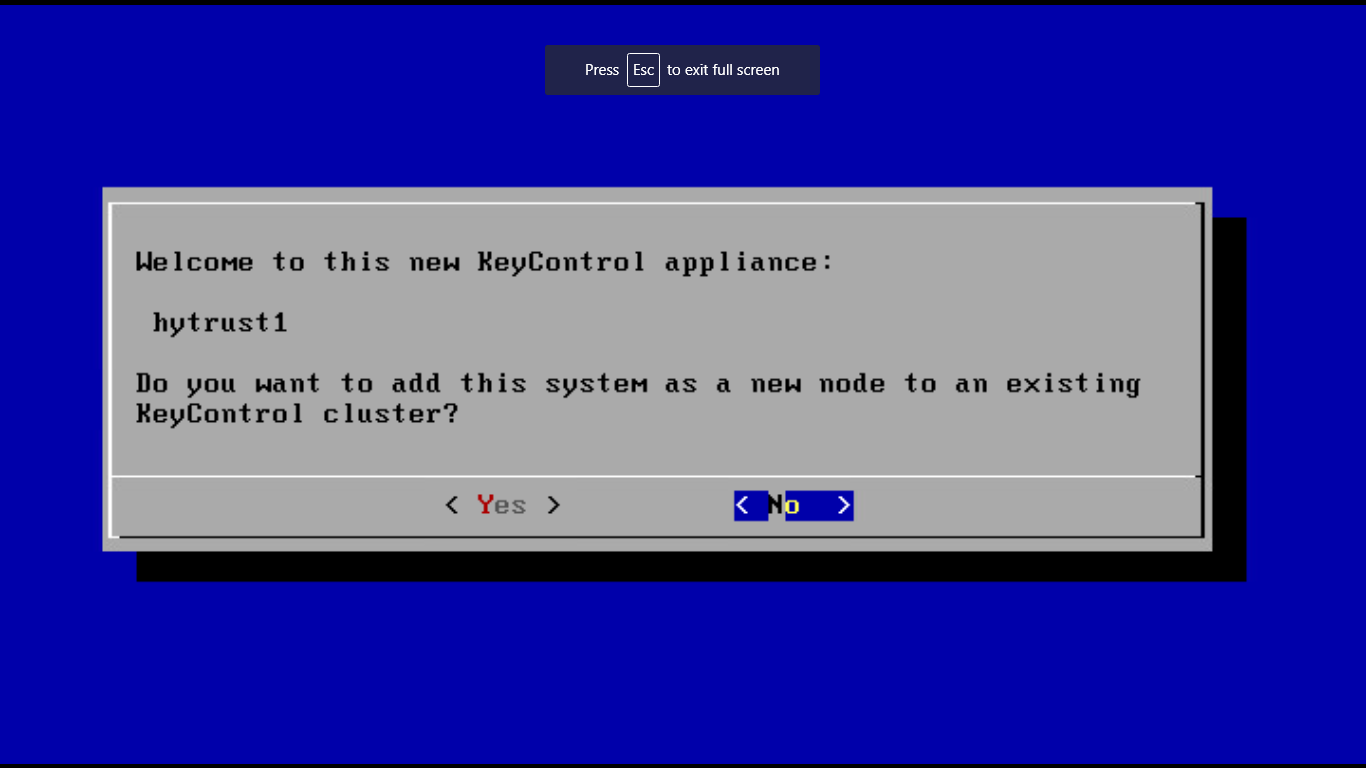
3- Once the OVA has been deployed, power on the VM, and open a console screen to it to continue the setup.

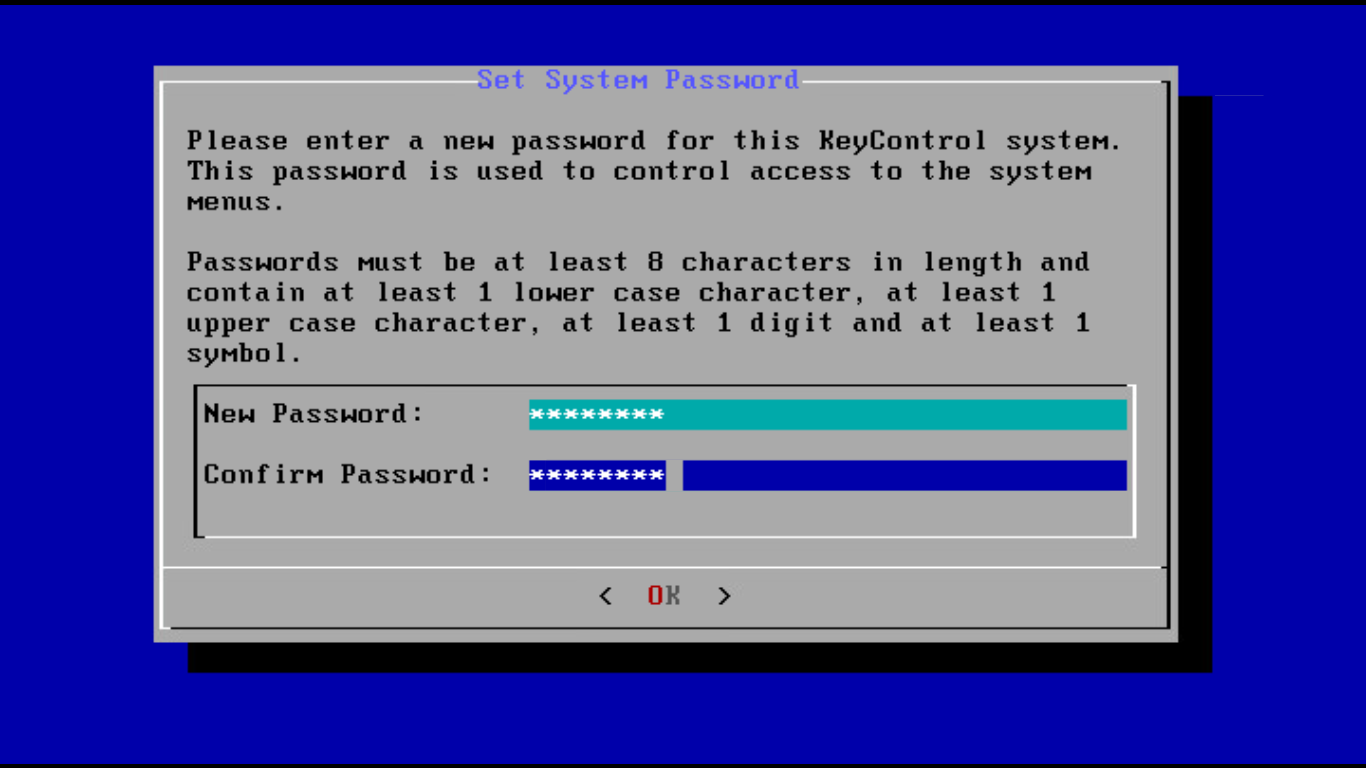
4- set a password for the config screen.
5- since this a new installation, choose :No:, and then hit enter.
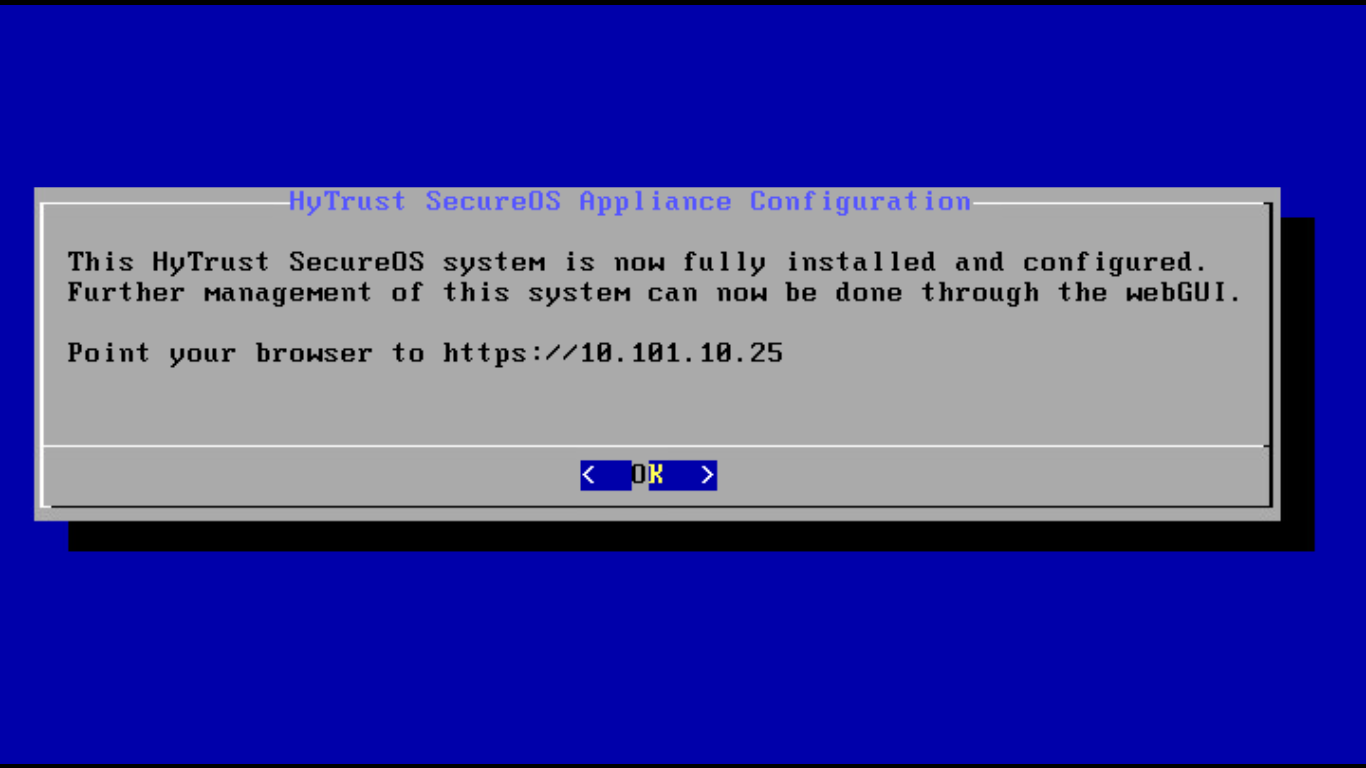
6- Now, log out and close the console window.

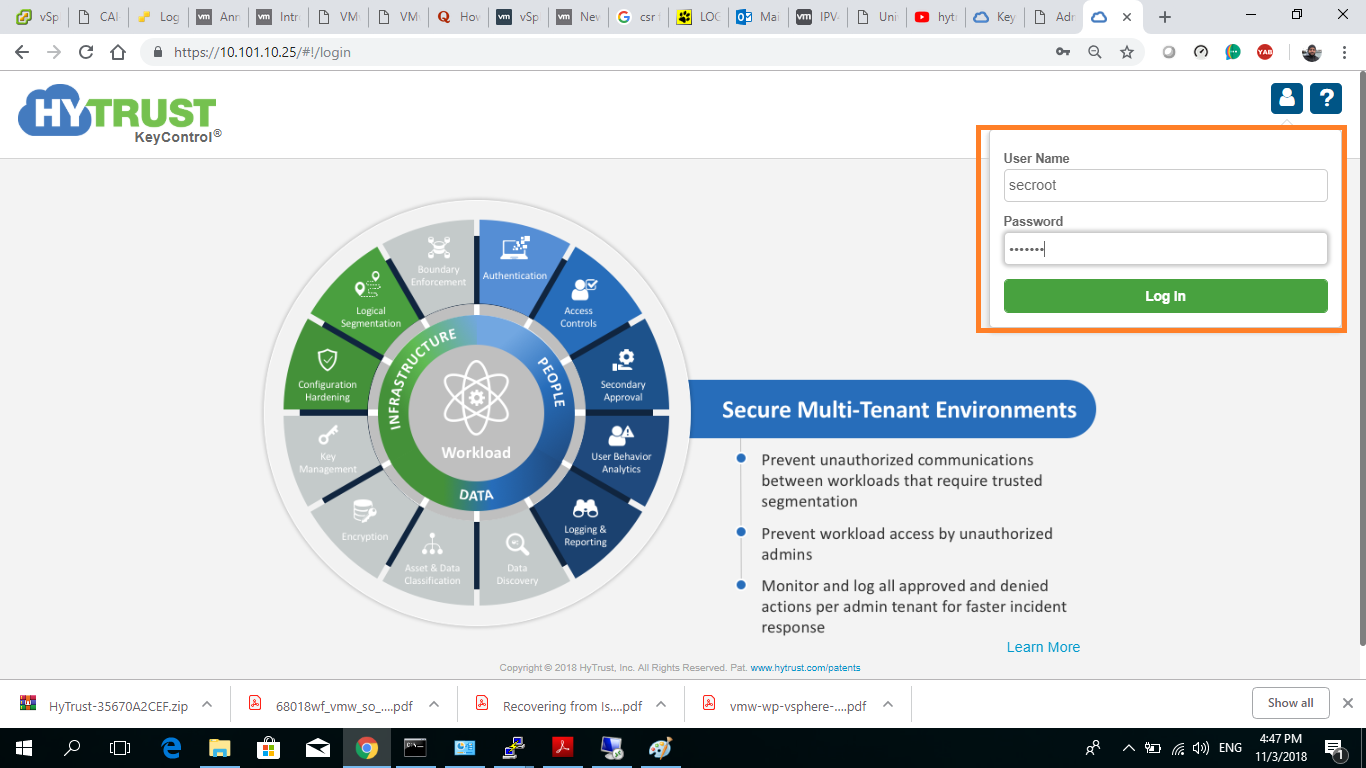
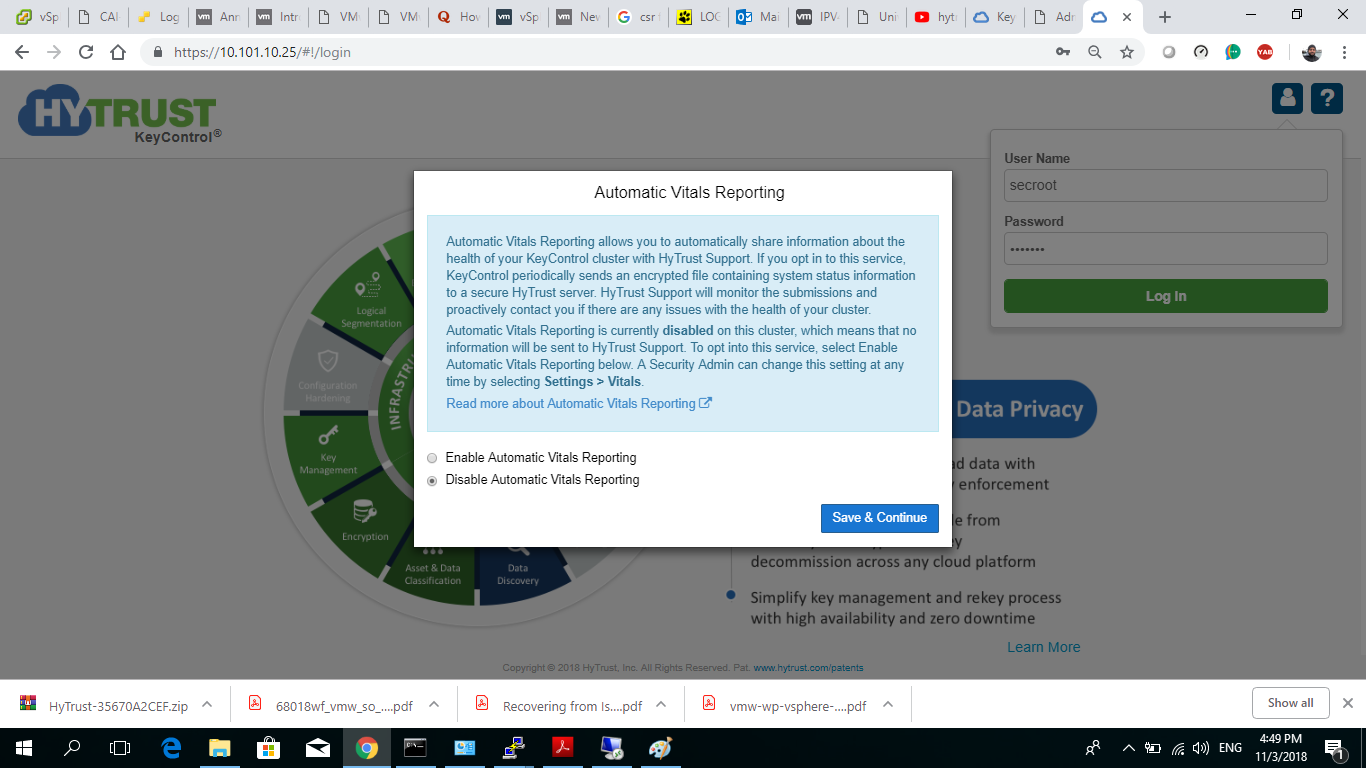
7- Now, we need to configure and start the KMS server. Open a web browser and navigate to the KMS server’s URL either by IP or host name. I’m using IP in my scenario.
Default initial username and password are both: secroot
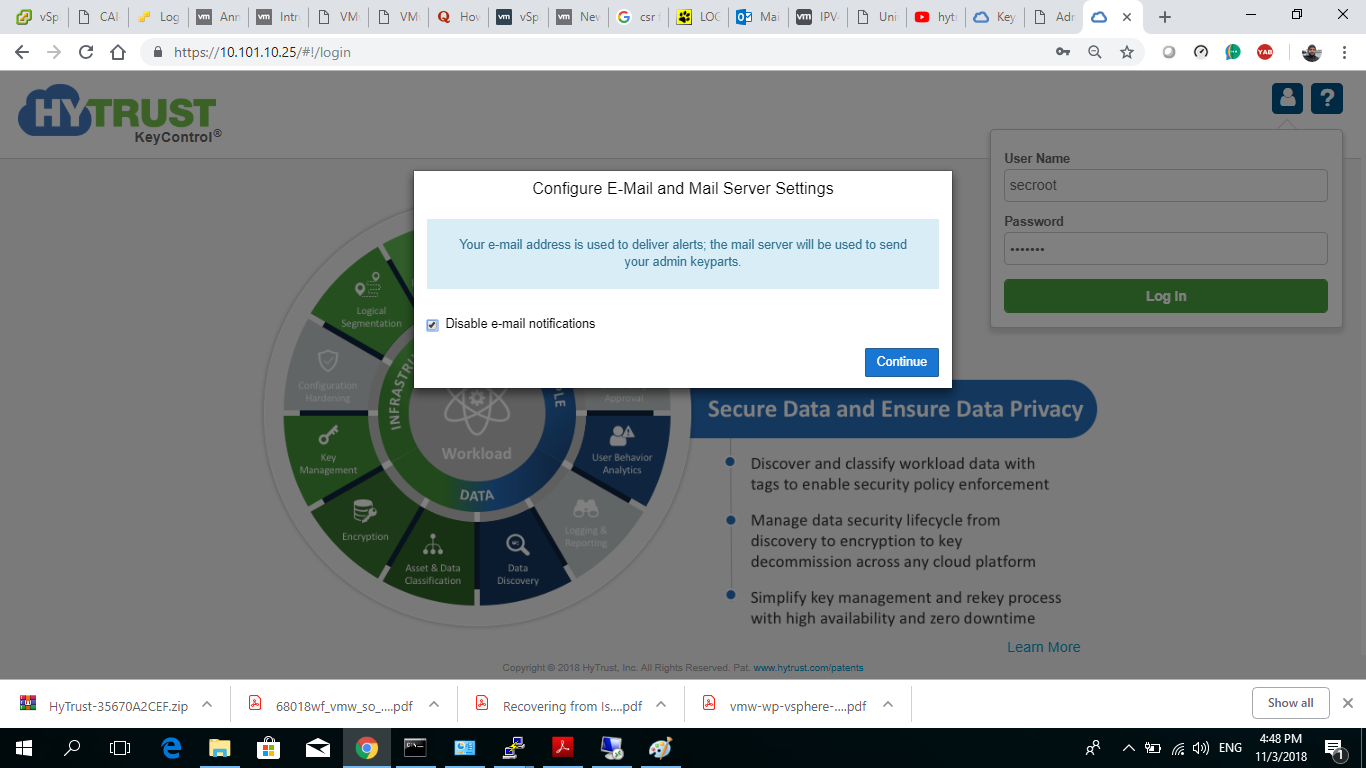
8- you will be prompted to change this password, set a new password for user “secroot”.

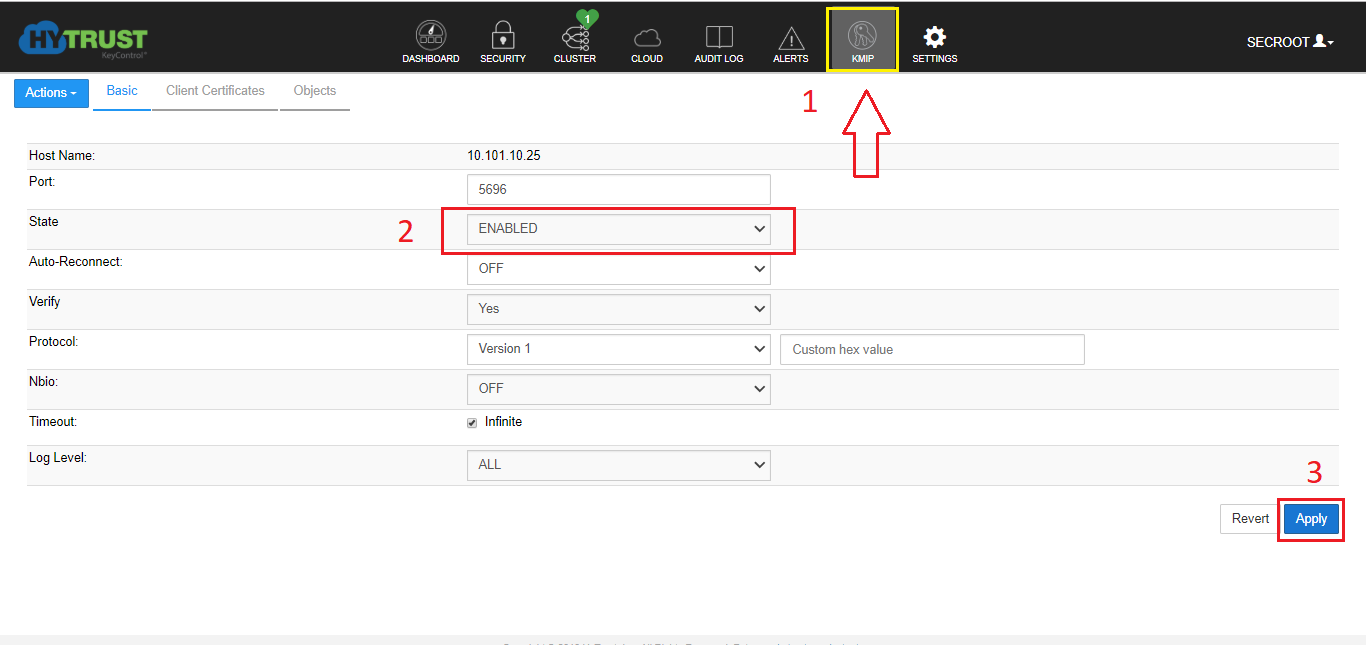
9- enable KIMP server, as described below.
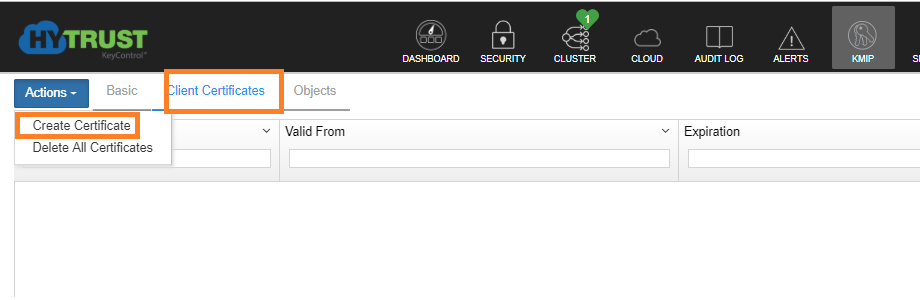
10- create the certificate that will make the vCenter trust the KMS server. Under KIMP tab, click on “Client Certificate” >> Actions >> create certificate.
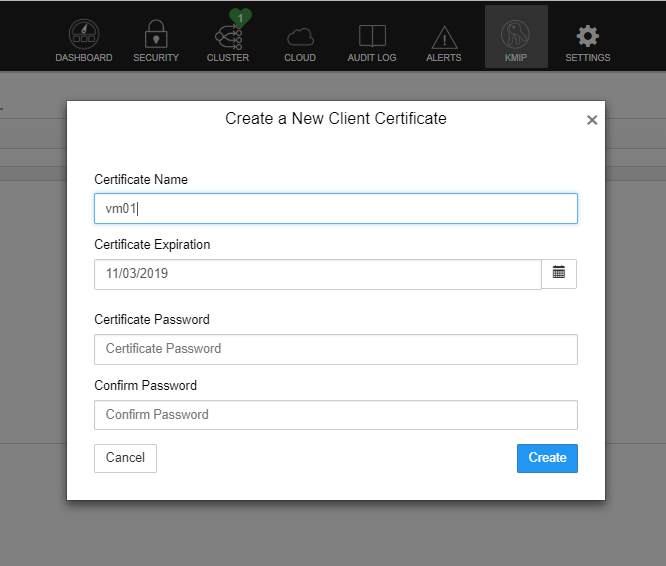
11- Just enter a friendly name to the cert, and don’t fill the other fields. HyTrust KMS doesn’t require the cert to be protected by password.
12- Now, download the certificate, follow these steps below.
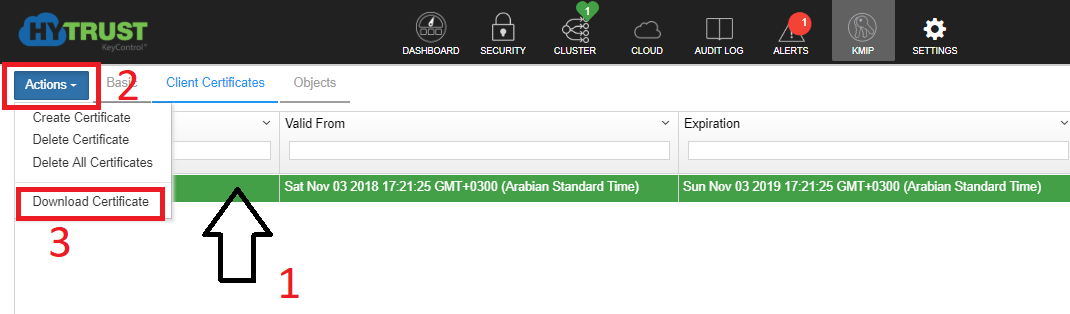
13- decompress the downloaded file.
KMS server deployment and configuration are complete.
Configuring VM encryption
Now, go to the vSphere web client to start configuring VM encryption there.
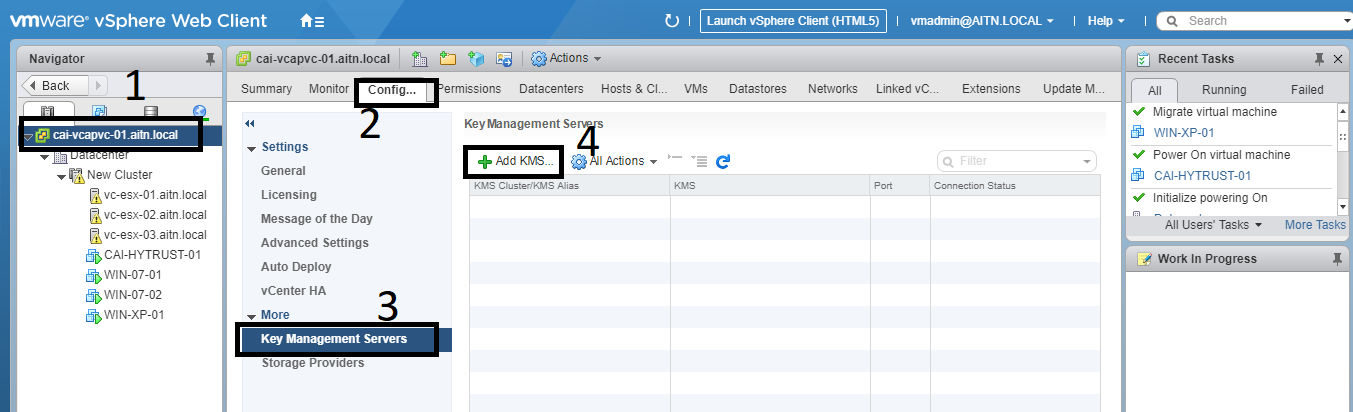
1- First, we need to register a KMS server, we will be using the one we’ve deployed into our environment. VMware recommends that you have at least two KMS servers for redundancy, but I will be using only one to simplify the demo.
select the vCenter node, and then click on “manage” tab >> Key Management Services >> “Add KMS”.
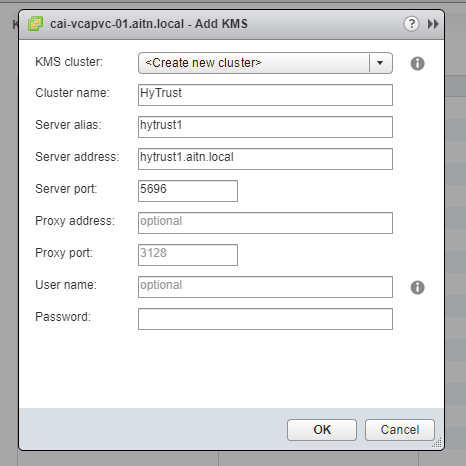
2- fill the fields with the information you have in your environment. In this case, we don’t need to enter any credentials, unless that it’s required in your environment.
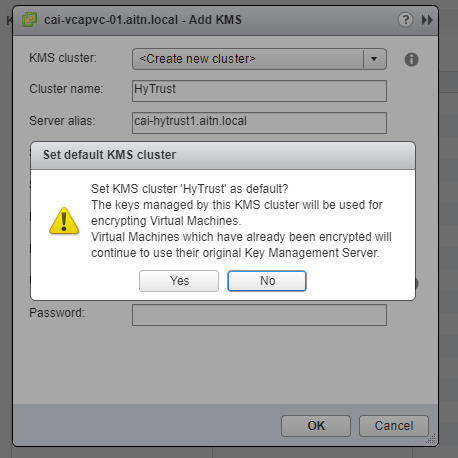
3- click “Yes” to set this server as a default.
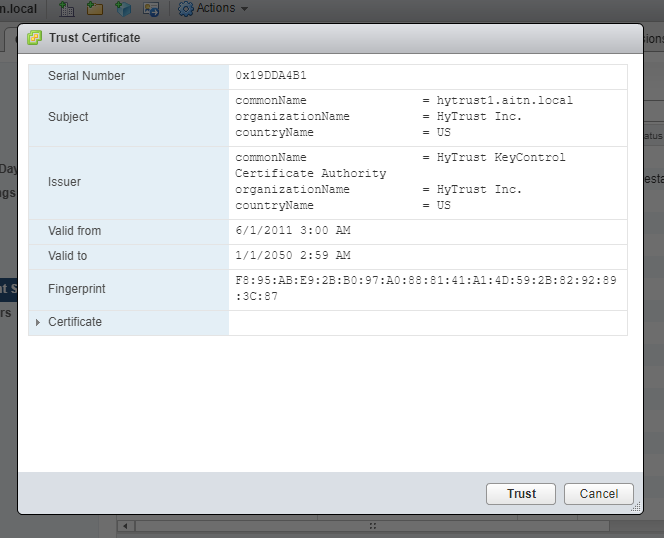
4- “Trust” the certificate of KMS.
5- The KMS server has been added, but the connection could not be established between it and the vCenter. we need to import the cert we’ve created into vCenter for the connection to be established. step 6.

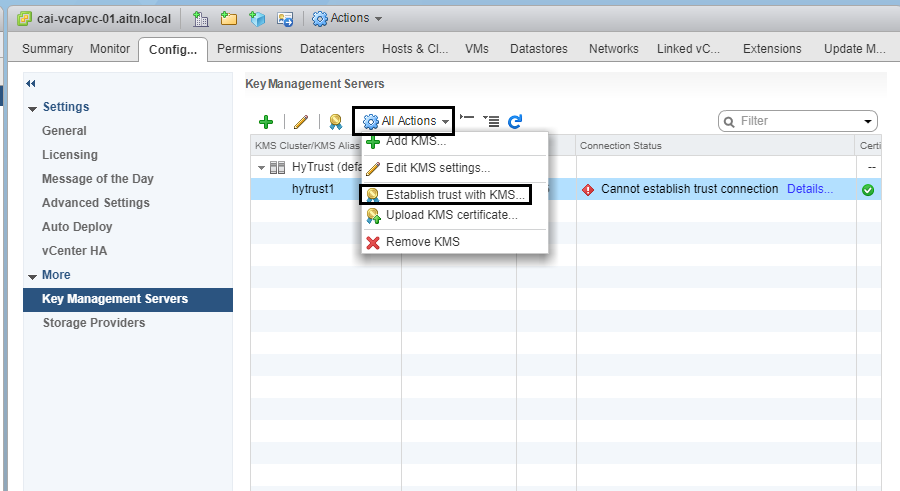
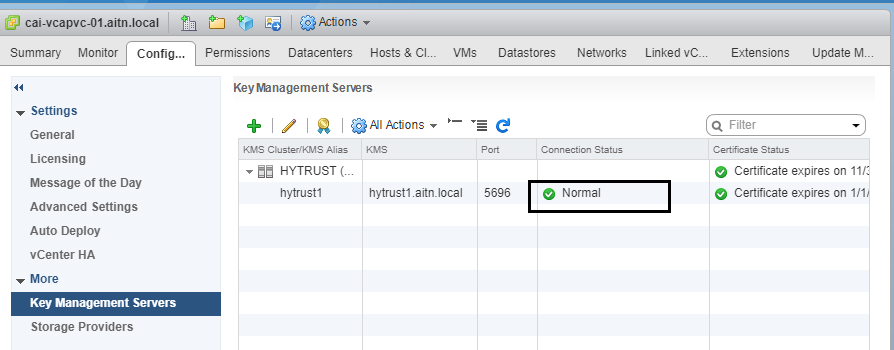
6- highlight the KMS server, and click on “Establish trust with KMS” icon, or choose the option from “All Actions menu”.
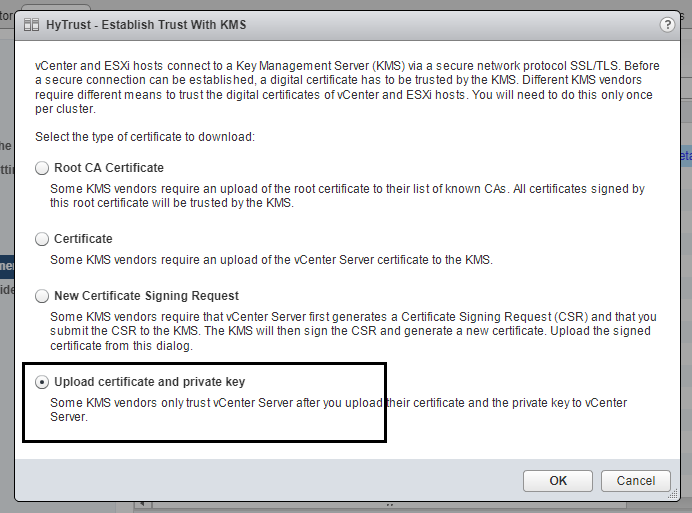
z- for HyTrust KMS, choose the final option “Upload certificate and private key”.
8- upload or paste the certificate you’ve downloaded from the KMS interface to both fields here under. the file with the cert name, not “cacert” file.
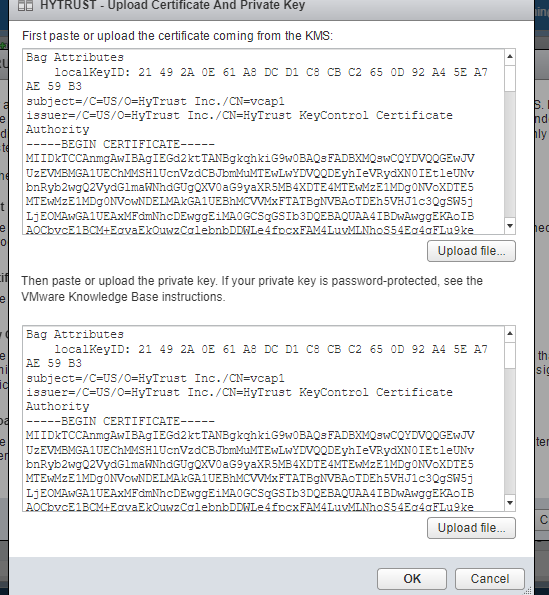
Now the connection has been established and the status is “Normal”.
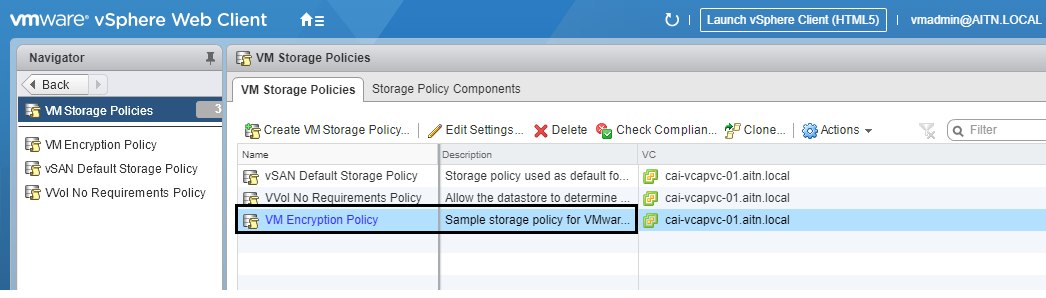
9- Now we need to create a storage encryption policy (if the default one is not available).
Follow the steps to get to the policy interface.


You can create a new storage policy for encryption if you’d like too. I will only use the default one, they wont make a difference.
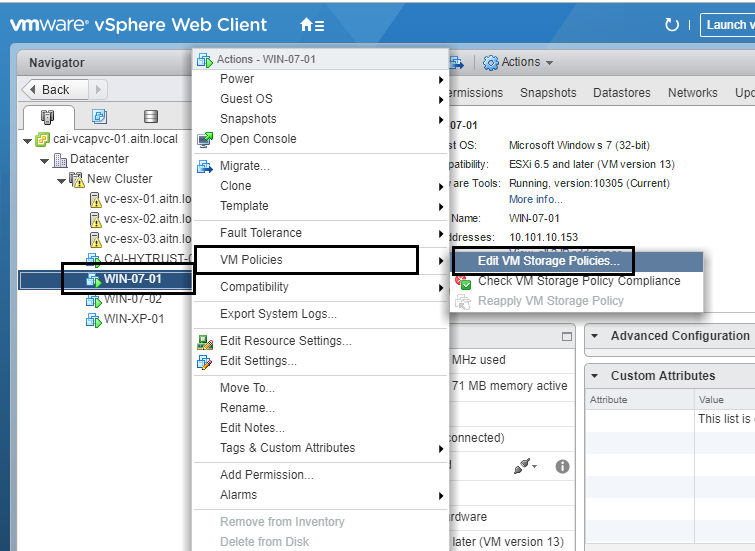
10- configuring VM encryption is per VM. Now, choose a desired VM to encrypt, but power it off first. Powering-off the VM is a MUST for the encryption task to be accomplished; vSphere creates a new virtual disks with encryption, and then copies the data from the original disks, and then delete them, so you end up with a new encrypted virtual disks. Don’t worry noting will harm your data, I just wanted to tell you the operation is performed. To remove the encryption you need to reverse these steps below.
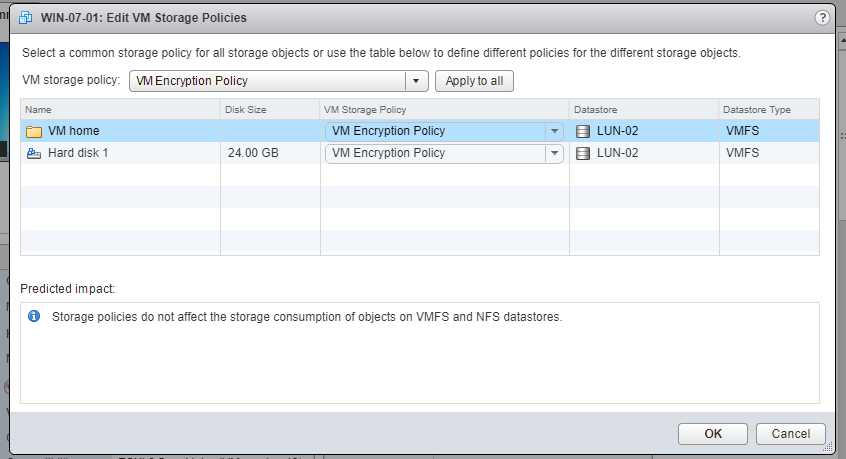
11- right click the desired VM >> VM Policies >> Edit VM storage policies.
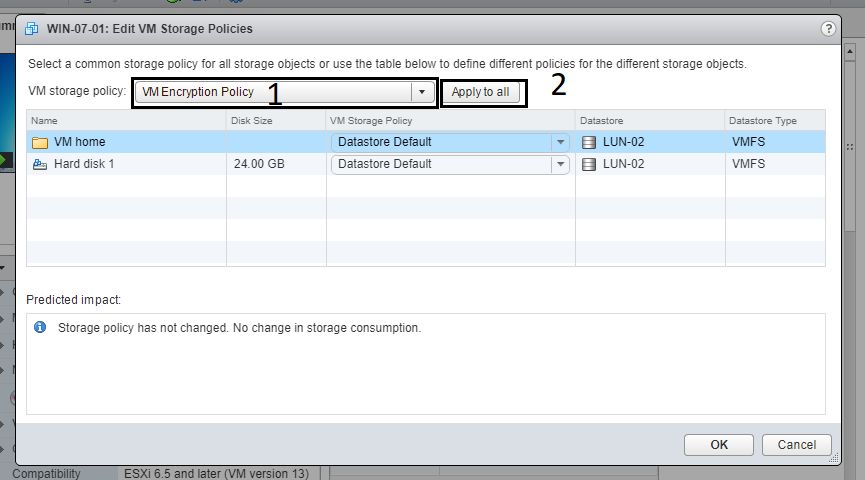
12- select the encryption policy, and either click “apply to all” button, or choose a specific disk(s) to encrypt. In my demo i will apply encryption to the whole VM. Finally, click “OK”.
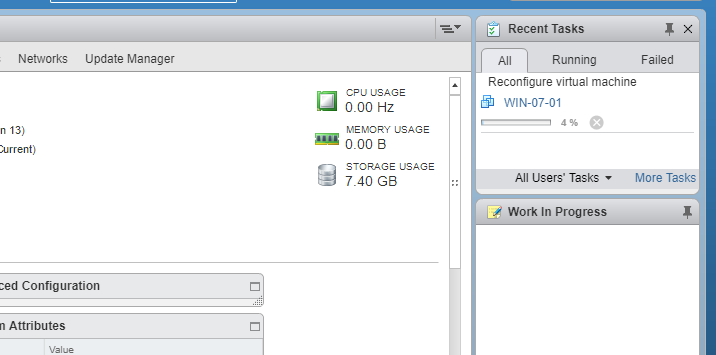
The VM is being configured as show below. in case you get an error that says that the host is not configured with encryption, all you need to do is just to reboot the vCenter server after adding the KMS.
This is a sample from that error:
The host [vim.HostSystem:host-28,vc-esx-01.aitn.local] doesn’t support encryption or encryption is not fully initialized on the host
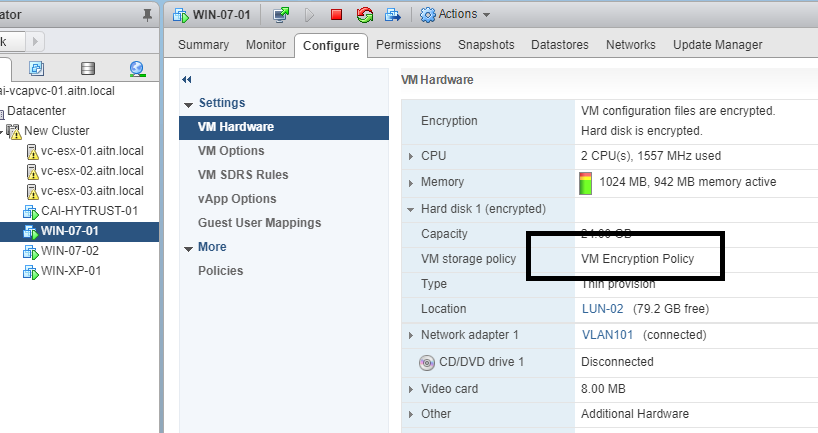
AS you can see now in the VM configuration, the disk policy is set to the encryption one.
Links to useful resources:
- HyTrust KMS server.
- VMware Online lab name: HOL-1811-01-SDC – vSphere v6.5 – What’s New at https://labs.hol.vmware.com/HOL/catalogs/catalog/681
- certified KMS providers by Vmware.
Videos
- Video: How to use encryption in your vSphere 6.5 environment – by Eric Sloov.
- Video: Deploy and configure HyTrust KMS server – by HyTrust.
Other resource articles:
https://4sysops.com/archives/vmware-vm-encryption-in-vsphere-6-5/
https://www.virtualizationhowto.com/2016/11/vmware-vsphere-6-5-configure-encrypted-vms/
